Fridge is now working!
replacing the temperature probe (thermistor) was fairly simple although needed some thinking about before rushing in.
The main issues were, the limited space to work in, how to remove the old probe and it’s terminals in the 6 pin connector, and how to thread the new thermistor into place. The whole job took about an hour and a half (including problem solving). To add, I have no access to specialist tools, no specialist skills except common sense and determination.
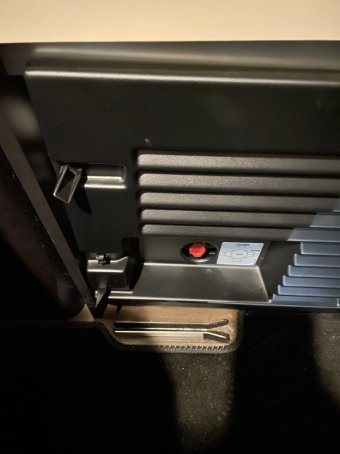
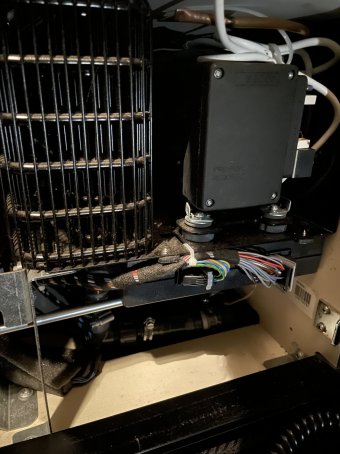
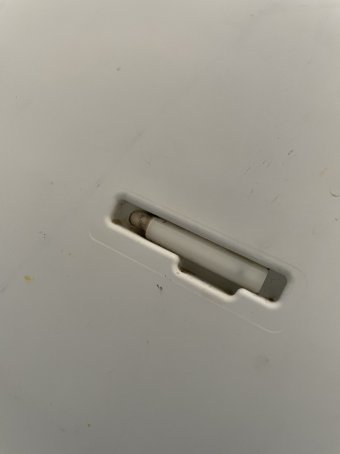
1. Open the cover pic 1. Inside you will see pic 2. The white wire leads from the thermistor which you will find inside the fridge sunk into its wall. (Pic 4)
2. lever out the thermistor gently with a flat bladed implement, I used a screwdriver tip.
3. Now use a torch and look at floor level towards the back of the opening on (pic2) on the right side and you should see a plastic (mine was white) wiring connector block with 6 wires going into either side, ( 2 are from the thermistor - the middle two in my case) the other 4 red, blue, brown, black lead to the fridge. You will find (by touch) that two sides of the connector block can be pressed inwards in order to release and split to two halves of the connector block (Fiddly but not difficult).
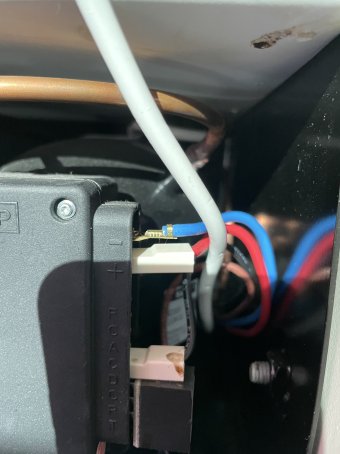
once this is released you can withdraw the top half of the block ( follow the route of the white thermistor wire to withdraw it and it should then exit near where the red and blue wires are shown in pic 3)
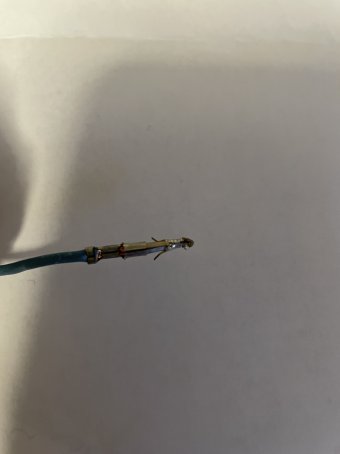
4.As I said, I have no special tools- you will see that the wires are secure in the block and cannot be released easily, this is because the ’bullet’ end is fixed in the block by ‘wings’ extending from its shaft (pic 5 - removed bullet end)
to remove this from the block I cut the thermistor wires from the rear of the block and pulled the bullet head the the front of the block using a small pair of fine pointed nosed pliers.
Once this hurdle is achieved you can move on to removing the old thermistor and replacing it with a new one.
DO NOT PULL IT STRAIGHT OUT!
5.Strip about 4cm of the outer cable from the thermistor end you‘ve just cut and then cut one of the inner wires off.
You will now need to attach a mousing cord to the cable which needs to be no thicker than the remaining wire. I used a length of nylon based string. Put the string and cable together and bind them with electrical tape- the binding should not be thicker than the remaining outside cable. Once this is done strip off the old electrical tape on the outside of the fridge which keeps the cable in the channel and pull the thermistor gently from inside the fridge.
It is likely there will be some ‘putty’ on the first part of the cable you pull through. When you get the ‘mousing’ line in the fridge take off the electrical tape and discard the old thermistor.
Using the new thermistor
Attach the bullet ends and wires of the new thermistor to the mousing line keeping the electrical tape within the size of the new white cable.
IMPORTANT—- do not use the mousing line to pull the cable through as it will pull off the wire!
PUSH the new thermistor cable through the hole in the side of the fridge and at the same time keep some tension on the mousing line in order to guide the cable in the correct direction. When the cable appears take off the mousing line and push the connectors through the rear of the electrical block where the original wires were removed, they will then lock in.
push the block back into the rear and connect the other half. Use any putty you have to help block around the wire of the new thermistor as you push it back into place in the fridge.
Use a cable tie to bundle any excess wire from the new thermistor.
Fix the wire back in the fridge box channel with new electrical tape.
Test the fridge - once you’re happy it works close up the panel.


